Building a Foam-Filled SCT Case
By Michael A. Covington
Author, Astrophotography for the Amateur
Digital photos by Cathy Covington


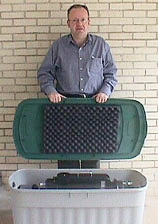
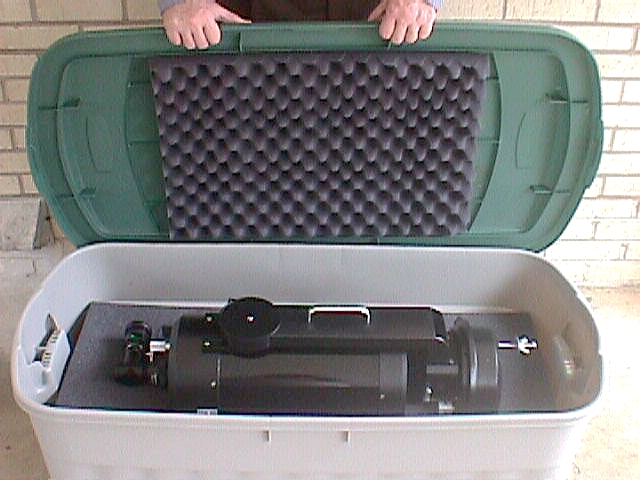
This article describes how I built a large foam-filled transport case for my 8-inch Schmidt-Cassegrain telescope for less than $150. This case is ideal for storing the telescope and transporting it by car (provided your trunk is big enough). It is not rugged enough for use as shipping case or checked baggage, but you could build a wooden case and line it the same way I lined the plastic one described here.
I was motivated to do this because the case that Celestron presently sells is not deep enough to hold the telescope with the finder on. In any case, Celestron's case is available through the photo industry, at much lower prices, as the Pelican #1650. It's small and handy, but I am not convinced it protects the telescope adequately. You can get bigger shipping cases from Atlas Cases and other companies.
Here's how to proceed.
(1) Buy, locally, a Rubbermaid #2550 50-gallon storage container and at least half a dozen utility knives whose blades can be extended at least 2 inches. (One knife with a lot of replacement blades will do. These blades get dull after just a couple of feet of cutting through foam, so you'll need plenty.)
|
Note added Sept. 2005: Mark Bales writes, and others also say, that an electric carving knife is good for cutting foam and the blades do not get dull. This sage advice is credited to Bob's Foam Factory, Fremont, California, whose web site is worth a look. |
(2) From McMaster-Carr (www.mcmaster.com), buy the following items, totaling about $110:
- One can of 3M aerosol foam adhesive, part no. 7610A15;
- One set of convoluted egg-crate foam (two sheets nested together), part no. 85365K23;
- Four sheets of 24" x 36" x 2" "Unifoam" charcoal-colored polyether-based polyurethane foam, part no. 85735K36.
(3) Fill the Rubbermaid container with foam. To do this, you'll need to make four 24" x 36" sheets into six 16" x 36" sheets. That is done as follows:
- With a straightedge and a sharp utility knife, cut 8 inches off along the long side of each 24" x 36" sheet.
- Edge-glue the factory edges (not the edges you cut) to make these four 8-inch strips into two 16-inch strips.
[Note: After using this case a while I determined that it only needs four 2-inch-thick sheets under the telescope. That means you do not have to do any edge-gluing. However, edge-gluing is a useful technique to know about, since you will have enough leftover material to fill two or three camera cases.]
(4) Also, separate the two sheets of egg-crate (convoluted) foam and cut one of them so that you can glue it inside the lid of the case. This will involve cutting off about one inch along the long side. Inside the lid is a rectangular pattern of ridges that form a frame; you want the foam to fit inside that frame. Because of the rest of the ridges, you might think you can't glue it down, but actually, the glue will hold it very securely.
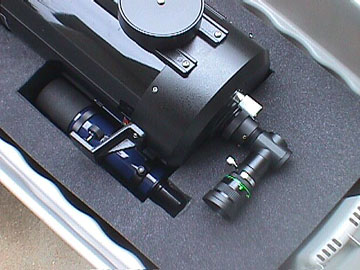
(5) Now you have a Rubbermaid case full of foam. Cut out the shape of your telescope in several of the layers as appropriate. I ended up using only five two-inch layers, not six; the two on the bottom are uncut, and the next three are cut out. Change knife blades frequently; you will find that you can dull two blades while cutting each layer!
Last, tack all the foam in place with small dabs of glue, so it won't come up when you lift the telescope out. Let the whole thing air out for at least a day before storing the telescope in it. You should have enough foam left over to line an eyepiece case.